Place the chicken livers in a colander and carefully remove any visible connective tissue or unusually large pieces of fat. Rinse them briefly under cold running water if desired, then drain thoroughly.
Pat the livers very dry with paper towels. This step is important because excess moisture can cause the hot oil to splatter.
Place the cleaned livers in a bowl and pour the buttermilk over them. Add the salt, black pepper, garlic powder, paprika, and cayenne pepper. Stir gently so the pieces are evenly coated.
Cover and refrigerate for at least 30 minutes. You can leave them for a few hours if you want a deeper seasoned flavor.
Step 2: Make the Crispy Coating
While the livers are soaking, prepare the flour mixture.
Combine the flour, cornmeal, salt, paprika, garlic powder, onion powder, black pepper, and cayenne in a shallow bowl. Mix thoroughly.
The cornmeal gives the coating an especially pleasant crunch, while the combination of paprika, garlic, onion, and pepper adds plenty of flavor.
Remove the livers from the buttermilk one at a time, allowing excess liquid to drip off. Place each piece into the seasoned flour.
Press the flour mixture gently onto the liver so the coating sticks well. For an even thicker crust, dip the coated liver briefly back into the buttermilk and then give it a second coating of seasoned flour.
Place the breaded pieces on a clean tray while you finish coating the remaining livers.
Step 3: Heat the Oil
Pour enough oil into a heavy, deep skillet or Dutch oven to allow the chicken livers to cook without crowding.
Heat the oil to approximately 350°F (175°C). A cooking thermometer is extremely helpful because maintaining the proper temperature gives you a crisp coating without excessively darkening the outside.
Do not fill the pan too full. Fry the livers in batches if necessary. Adding too many pieces at once can dramatically lower the oil temperature and produce greasy, soggy breading.
Step 4: Fry Until Golden and Fully Cooked
Carefully place the coated chicken livers into the hot oil. Lower them gently to minimize splashing.
Fry in batches until the coating is deeply golden and crisp and the chicken livers are cooked completely through. Cooking time will vary depending on the size of the pieces and the temperature of the oil, so use a reliable food thermometer to verify that the thickest pieces reach 165°F (74°C) internally.
Avoid cutting into several pieces while they’re frying because this can release moisture into the oil and make the coating less crisp.
When finished, carefully remove the livers with a slotted spoon or spider strainer.
Step 5: Drain and Serve
Transfer the fried chicken livers to a wire rack set over a baking sheet. This allows excess oil to drain away while keeping the bottoms crisp. Avoid piling them directly on paper towels if you want maximum crunch.
Serve immediately while the coating is hot and crispy.
A bowl of cool ranch dressing makes an excellent contrast to the warm, savory livers. Hot sauce adds heat, while honey mustard brings a sweet and tangy flavor. Pickles or lemon wedges can also help balance the richness.
Tips for the Best Fried Chicken Livers
For the crispiest results, keep the livers dry before they enter the buttermilk and avoid overcrowding the frying pan. Maintaining a steady oil temperature is just as important as the seasoning.
Chicken livers can pop during frying because they contain moisture, so use a deep pan and handle them carefully. Keep children and pets away from the cooking area, and never leave hot oil unattended.
These crispy fried chicken livers are best eaten immediately, when the outside is crunchy and the inside is tender and flavorful. Pair them with fries, coleslaw, biscuits, or a simple green salad for a satisfying old-fashioned meal.
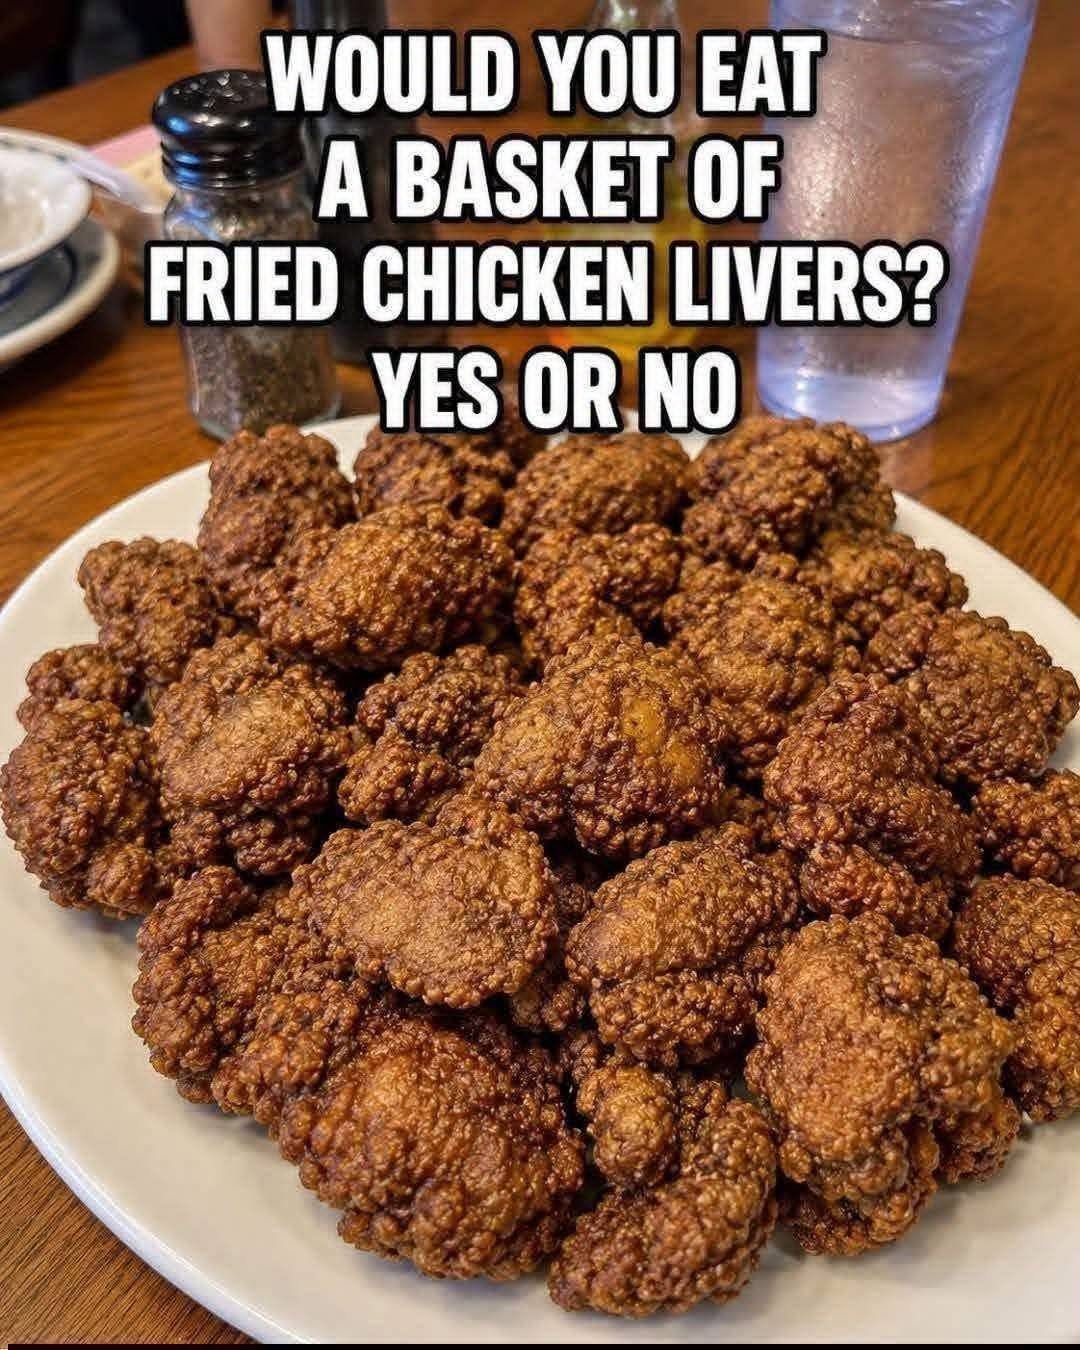
So, would you eat a basket of them—yes or no?