Avoid applying this aggressive scrubbing approach to a delicate non-stick coating.
Step 4: Don’t Try to “Rebuild” a Damaged Non-Stick Coating
This is the most important part of the viral pan-restoration claim.
If your non-stick pan has simply accumulated grease or residue, cleaning may improve its performance.
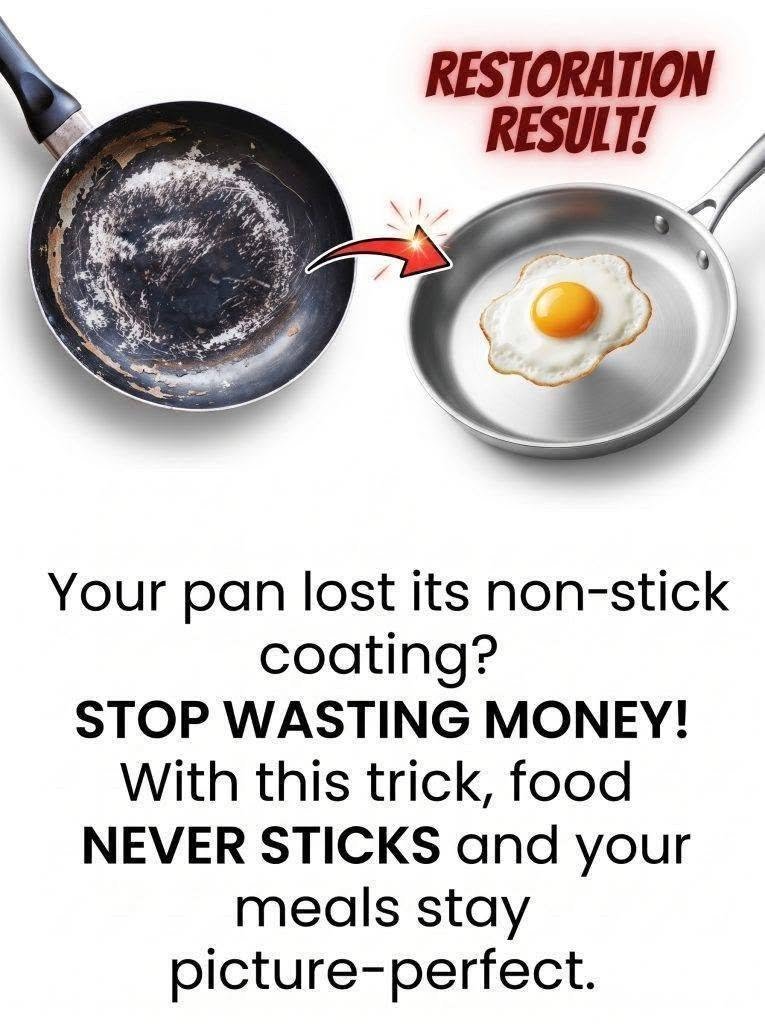
But if the actual non-stick coating has peeled, flaked, blistered or become significantly scratched, you cannot restore it by rubbing oil, salt, baking soda or another household ingredient onto the surface.
The coating itself has been damaged.
A new layer of non-stick coating cannot be safely recreated in a home kitchen.
If the coating is deteriorating, replacing the cookware is generally the sensible option.
Step 5: Restore Cast Iron Differently
Cast-iron cookware is different because its cooking surface can be maintained through seasoning.
First, remove food residue and rust as appropriate.
Dry the pan completely.
Then apply a very thin layer of cooking oil and heat the pan according to an appropriate cast-iron seasoning method.
The goal is not to leave a thick layer of oil on the surface. Excess oil can become sticky rather than creating a smooth seasoning layer.
Repeated seasoning can gradually improve a properly maintained cast-iron pan.
Step 6: Remove Grease Buildup From Stainless Steel
Stainless steel can develop brown, black or rainbow-colored discoloration over time.
Start with ordinary dish soap and warm water.
For stubborn discoloration, baking soda can be useful as a mild abrasive when used appropriately.
Apply a small amount, gently scrub the affected area, and rinse thoroughly.
Dry the pan afterward to prevent water spots.
Never assume that a dark-looking stainless-steel pan is ruined. Many stains are simply surface deposits that can be removed.
Step 7: Avoid Extremely Aggressive DIY Tricks
Social media is full of recipes promising to make an old pan “brand new” using combinations of baking soda, vinegar, salt, lemon juice, detergent and other ingredients.
Some combinations can help with cleaning certain types of cookware, but stronger does not necessarily mean better.
Mixing household cleaning chemicals can also create dangerous fumes.
Never mix bleach with acids such as vinegar or lemon juice, and don’t combine cleaning products unless the manufacturer’s instructions specifically say the combination is safe.
Step 8: Rinse and Dry Thoroughly
After cleaning, rinse the pan thoroughly to remove soap and loosened residue.
Dry it completely.
For cast iron, drying is particularly important because leaving water on the surface can encourage rust.
For stainless steel, drying also helps prevent water spots and keeps the cookware looking cleaner.
Step 9: Test the Cooking Surface
Once the pan is clean and completely dry, test it before deciding whether it needs replacing.
For a stainless-steel pan, heat management and using an appropriate amount of cooking oil can make a major difference in preventing food from sticking.
For cast iron, a properly maintained seasoning layer can improve release.
For non-stick cookware, use low to medium heat and appropriate utensils to protect the coating.
If food continues sticking badly to a non-stick pan despite proper care—and especially if the coating is visibly damaged—it may simply be time for a replacement.
Step 10: Keep Your Restored Pan in Good Condition
Restoring cookware is only half the job.
To keep it performing well:
Avoid overheating empty non-stick cookware.
Don’t use metal utensils on delicate non-stick surfaces unless the manufacturer specifically allows them.
Avoid abrasive cleaners on coated cookware.
Don’t put extremely hot cookware under cold water unless the manufacturer says it is safe.
Clean cookware soon after use rather than allowing food to remain stuck for hours.
Dry cast iron thoroughly after washing.
Follow the manufacturer’s care instructions whenever available.
Can an Old Non-Stick Pan Really Become “Like New”?
Sometimes a pan that looks terrible simply has a layer of cooked-on grease and food residue covering an otherwise healthy surface.
Cleaning can make a dramatic difference.
But there’s a major difference between dirty and damaged.
If the non-stick coating itself is intact, careful cleaning may improve the pan’s appearance and cooking performance.
If the coating is peeling or deteriorating, no viral kitchen trick can genuinely restore it to factory condition.
The Bottom Line
Don’t throw away a good pan simply because it has stains, burnt residue or years of buildup.
Start gently, identify the cookware material, and use a cleaning method appropriate for that specific surface.
Stainless steel can often tolerate deeper cleaning. Cast iron can be restored through proper seasoning. Non-stick cookware requires much gentler treatment.
And remember: cleaning a damaged non-stick pan is not the same thing as restoring its coating.
If the coating is badly scratched, peeling or flaking, replacing the pan is safer and more practical than trying to recreate the non-stick surface at home.
A little care can bring many cookware pieces back to useful condition—but knowing when a pan is truly beyond restoration is just as important.